
Once the initial set up for inventory is completed for your location, you can now proceed with using the inventory module in EPRO. Below is an overview stepping through the entire inventory process from Purchasing to Inventory Closing Period.
Purchasing Method
Ensure that the appropriate ordering methods are used when creating a PO for an inventory supplier. Confirm with your corporate team for guidance on these procedures, which may include:
-
Order Guides:
-
Ensure that the order guide supplier is set up for inventory.
-
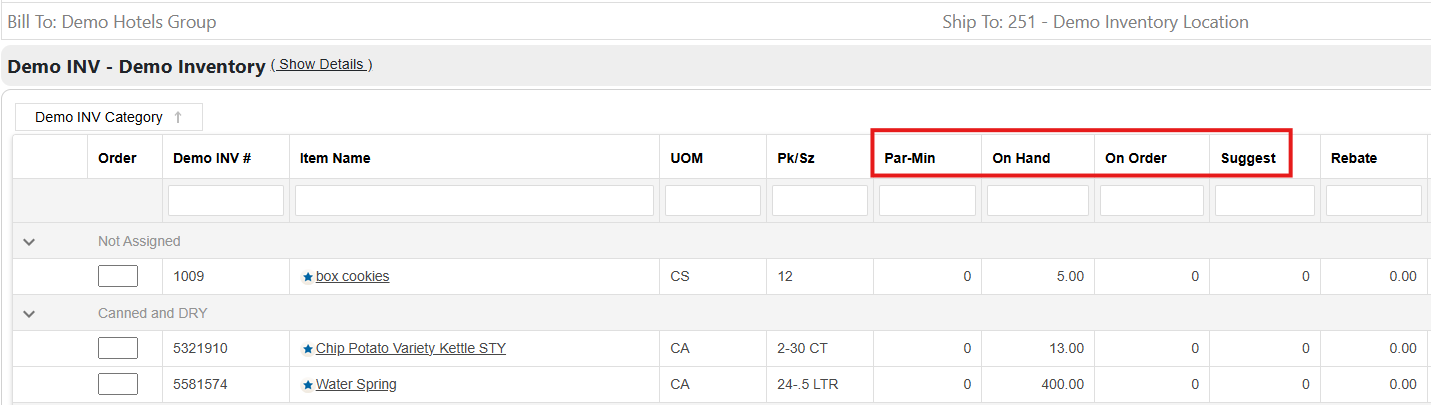
Use the appropriate order guides set up for your location for all items tracked using the inventory module.
-
Additional columns for inventory will display in the order guide, including:
-
Par-Min
-
On Hand
-
On Order
-
Suggest
-
-
-
Punchout:
-
Ensure that the punchout supplier is set up for inventory.
-
When returning the punchout cart back to EPRO, the inventory data columns will appear.
-
Par-Min
-
On Hand
-
On Order
-
Suggest
-
-

-
Requisition Form:
-
Ensure that the selected supplier is set up for inventory.
-
The inventory data columns do NOT show when using the Requisition Form for an inventory supplier.
-
If an inventory supplier is not available in the requisition form, confirm with your corporate contact if ordering is available through an order guide or punchout.
-
Receiving Process
Completing receiving events for inventory suppliers will enter Stock transactions for the inventory items. This contributes to the Theoretical Count calculations that you will see in the Inventory-View By Location screen.
-
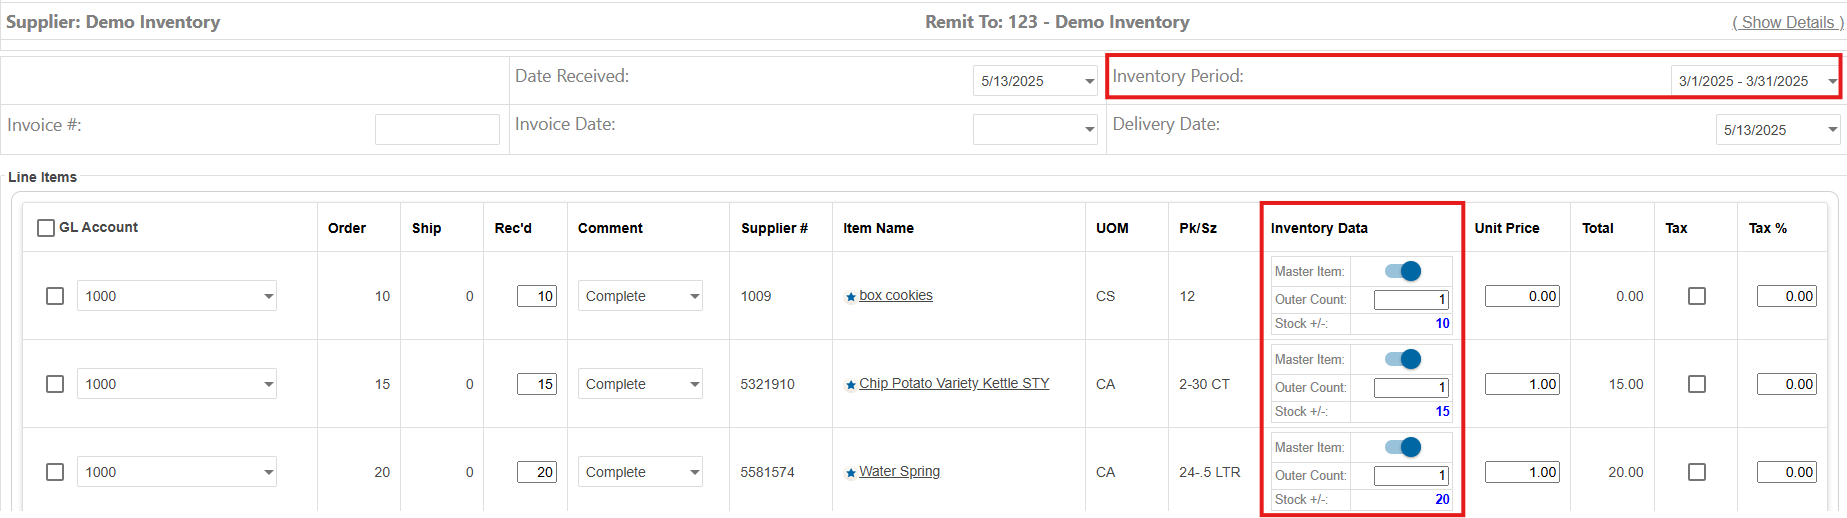
Complete the receiving event for the inventory supplier once the items have arrived and an invoice is available.
-
An open Inventory Period must be selected when completing a receiving event.
-
Inventory Data fields will populate per item in the invoice.
-
Master Item toggle
-
Outer Count
-
Stock +/- (displays theoretical stock count)
-
-
Add new items or to link a master inventory item: the action to take will depend on which workflow is set up for your Buyer group:
-
Allow Inventory Items by Location - each property can manage the Inventory Data fields per item when completing the receiving event.
-
Allow Inventory Items by Corporate - the Inventory Data fields will be greyed out and properties must contact the designated buyer corporate user to manage.
-
Require Buyer Item # - Each inventory item will require a buyer item # determined per Buyer group. This can be edited in the receiving event per item.
-

-
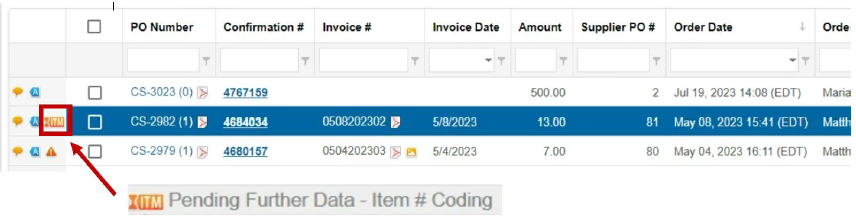
If an item needs updating, you will not be able to complete receiving and will see the designator highlighted. Make the necessary buyer item # adjustment to receive.
-
Outer Count: adjust this number based on how you wish to calculate the item with the Inventory UOM.
Invoice Entry
The inventory process is based on completing receiving events against an approved PO. Invoice Entry transactions are outside of the PO approval workflow, since you are completing the receiving event and creating the new PO at the same time.
Inventory data will not be tracked when submitting Invoice Entry transactions for an inventory supplier, however there is an option to re-receive.
-
Re-receive:
-
Once you see the Confirmation page after submitting through Invoice Entry, save the confirmation # or invoice #.
-
Go to Receiving and toggle on “Include Reconciled Orders”.
-
Search for the confirmation # or invoice # and open the PO Number.
-
Re-receive with the inventory data and select the inventory period.
-
If an inventory supplier is not available in Invoice Entry, confirm with your corporate contact if ordering is available through an order guide or punchout.
Adding Items to Inventory
(View > Inventory > View by Location)
Add Missing Items:
-
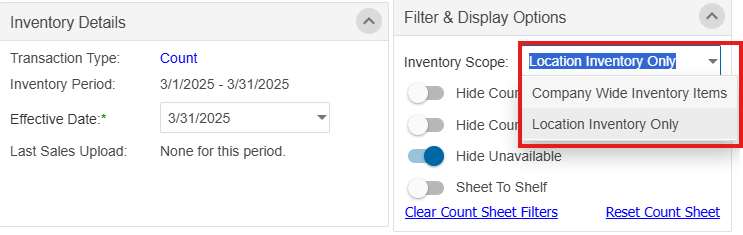
If an item is missing from your inventory sheet during a transaction, select "Company Wide Inventory Items" in the Inventory Scope dropdown. (This can be done on the main inventory page or within the transaction)
-
Search for the item and enter the values to complete the transaction. (This will enter the item into your location inventory item scope)
-
Switch back to "Location Inventory Only" to complete transactions for your location.

If an item is not found in the company wide inventory scope, contact your corporate team or Tech Support for next steps.
Removing Items from Inventory
Deleting items from inventory can depend on how your Buyer corporate settings are configured. Items can expire off of the inventory sheet based on a configured number of days.
Confirm with your corporate team on how this setting is configured.
To delete an item from your inventory that has a theoretical amount listed, follow these steps:
-
During your next period-end count activity, leave the Outer Count column blank for the item, and the system will remove it from your inventory.
-
Optional: Enter a zero (0) in the Outer Count column to zero out the theoretical value of the item you want to delete.
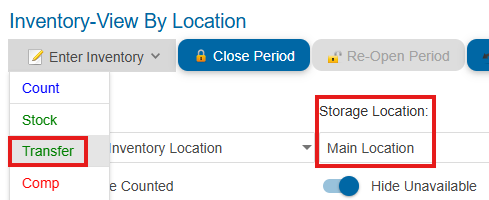
Storage Locations
EPRO has the ability to track inventory for Storage Locations within a Buyer Location.
Stock transactions from receiving events are all counted under the Main Location with the ability to transfer items or enter transactions for the storage location.
-
To enter transactions for a Storage Location, ensure that the selection is made on the main inventory page before a transaction type is selected.

-
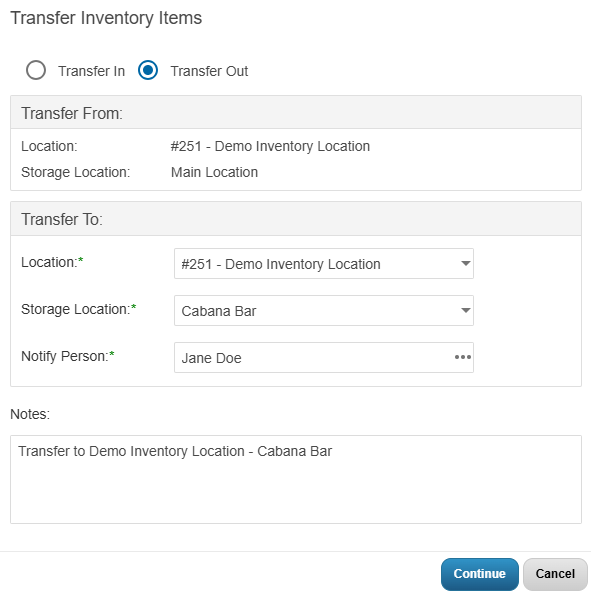
Transfer In/Out: Items can be transferred in or out for a selected Storage Location. Select the “Transfer” transaction type and select options to Transfer In or Out.
-
A user must be selected to notify of the transfer.
-

If a storage location is missing, please contact Tech Support to have it added.
Inventory Period-End Process
Throughout the time frame of the open inventory period, enter the necessary transaction types for your location.
Confirm with your corporate team for guidance on the period closure process.
-
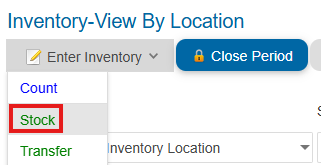
Enter Stock
-
Enter Stock transactions that were not introduced from receiving an invoice
-
Additional functionalities
-
Override Price: the item unit cost can be adjusted when entering stock for any item, any supplier. New item prices from a PO will reflect accordingly.
-
-
-
Reset Item Cost
-
Inventory item costs are calculated as an average or perpetual amount.
-
To reset the cost to the updated pricing instead of the perpetual price, select the items to update and click “Reset Item Cost”.

-
-
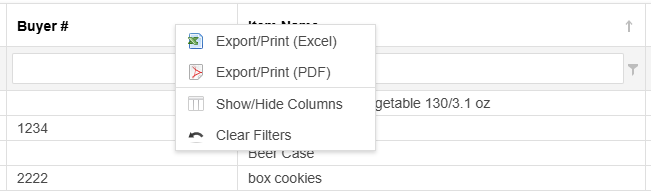
Export/Print to Excel or PDF, Show/Hide Columns, Clear Filters
-
Within the transaction sheet, right click to see additional options to export, column preferences and clear filters
-
Add columns Inventoried As (Inventory UOM), Purchased As (Purchase UOM), Theoretical Count, Vendor #, etc.
-
-
Closing Period
-
When all counts are entered and all transactions finalized at the end of the period date span, you can proceed with closing your open period.
-
Select a period from the Inventory Period drop down list > click Close Period > click Close Window.
-
The next period will open according to the date span configured.

-