
How to Use This Page
-
Start with the Quick Reference for the most common tasks and definitions.
-
Follow the Step-by-Step Workflows when performing inventory updates.
Quick Reference
|
Topic |
What You Need to Know |
Where to Take Action |
|---|---|---|
|
Removed “View by Item” screen |
To streamline user experience and to reduce confusion. |
View>inventory>Supplier Visibility |
|
Renamed “Suppliers” to “Supplier Visibility”. |
To help users distinguish this section as the page to administer which suppliers are available to which locations. |
View>Inventory>Supplier Visibility |
|
Updated Inventory Periods modal with per-row Close/Re-open controls. |
Provides improved visibility into period statuses and reduces the number of repetitive steps required by users. |
View>inventory>view by location>select location > period maintenance menu |
|
Option to show on-hand amounts on count sheet when initiating transfers |
Enhancement allows user to view the on hand amounts while initiating transfers in the same screen. |
Transfer window > Projected columns (on Count Sheet) |
|
Moved inventory period selection to Count Sheet initialization |
Streamline the user experience and allow users to clearly define what period and effective date they were entering a count for. |
View>inventory> view by location > choose the applicable location/storage location/ item scope >Enter Inventory drop down |
|
Added ability to rename specific inventory column headers as well as regrouped the label customization section. |
Users will be able to rename the count columns as they need |
File>corp settings> preferences tab >Inventory Section |
|
Added Inventory Admin Flag |
Added administrative guardrails so that the system prevents invalid or conflicting configurations, ensuring accurate inventory setup and reducing the chance of user error.
|
View>acct setup>users |
Step-by-Step Workflows
1) Removed: View by Item (Use View by Location Instead)
-
View>Inventory
Previous table drop down
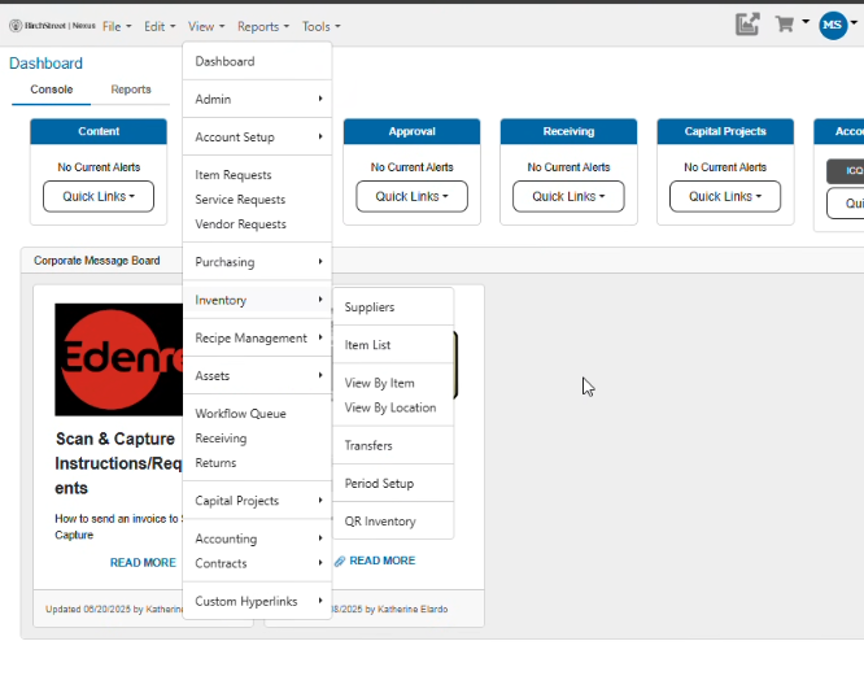
Current Table drop down
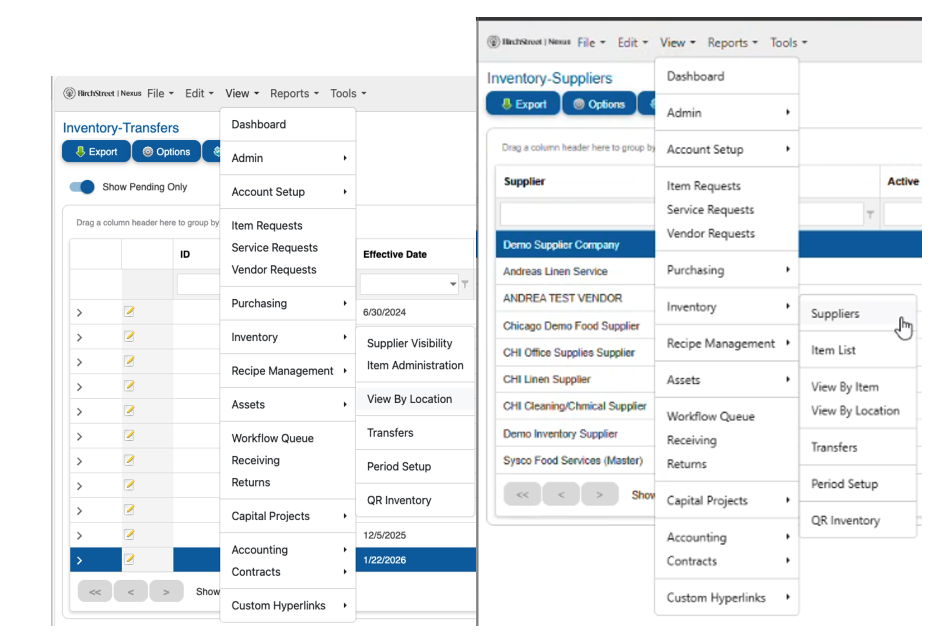
2) Open Supplier Visibility (renamed from Suppliers)
-
Go to View > Inventory > Supplier Visibility.
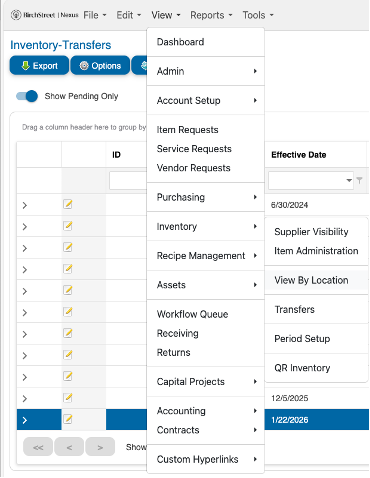
3) Close or Re‑open an Inventory Period (Per‑Row Controls)
-
Go to View > Inventory > View by location and select a location.
-
Open the period maintenance menu from the Inventory Periods modal.
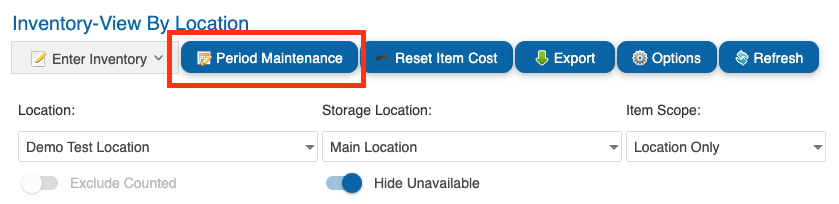
-
Use the per‑row controls to Close or Re‑open the desired period.

4) Show On‑Hand Amounts While Initiating a Transfer
-
View>inventory> view by location > choose the applicable location/storage location/ item scope
User must then click Enter Inventory drop down> click Transfer to start Transfer action> Select Transfer In/Transfer Out > Fill in the needed info:
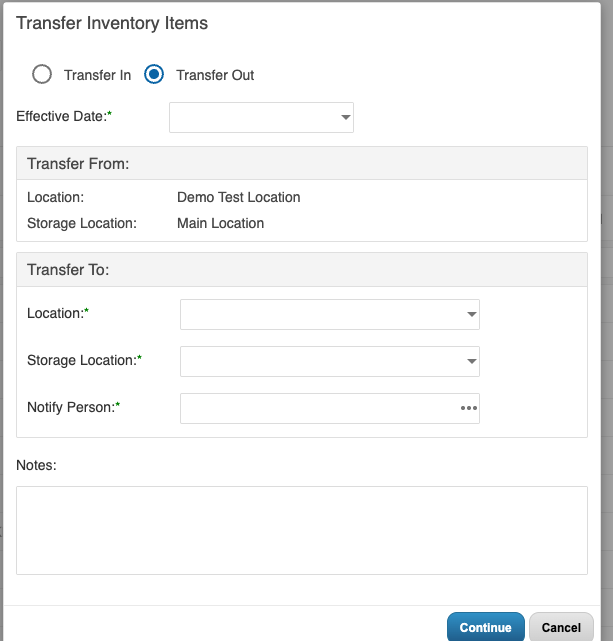
-
Once information is filled in > click continue
-
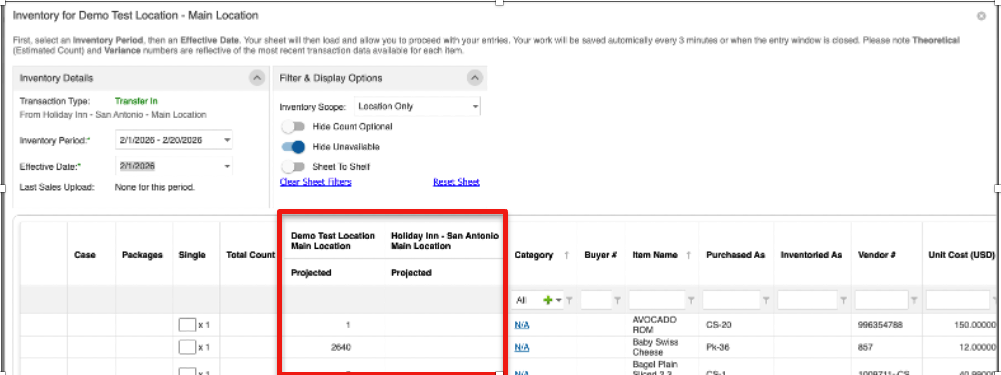
User will be brought into the transfer window and will need to follow the instructions:
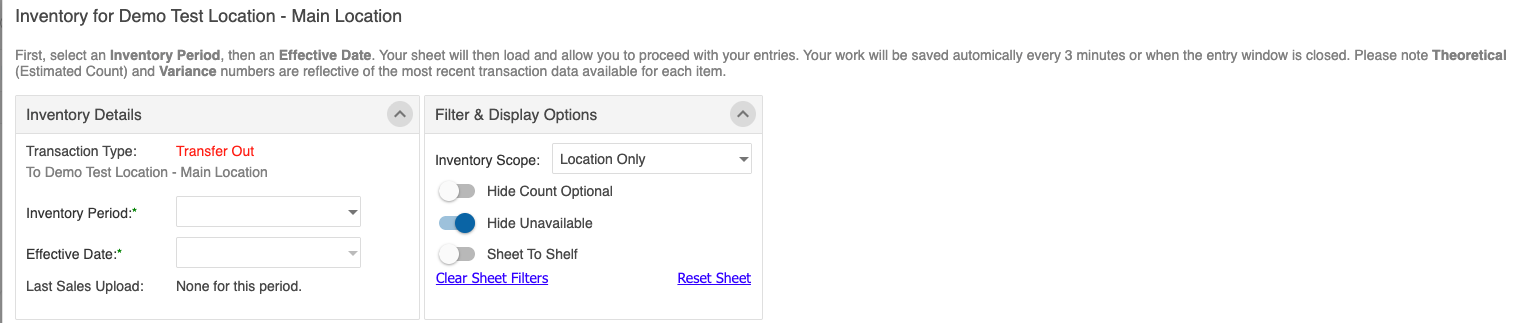
-
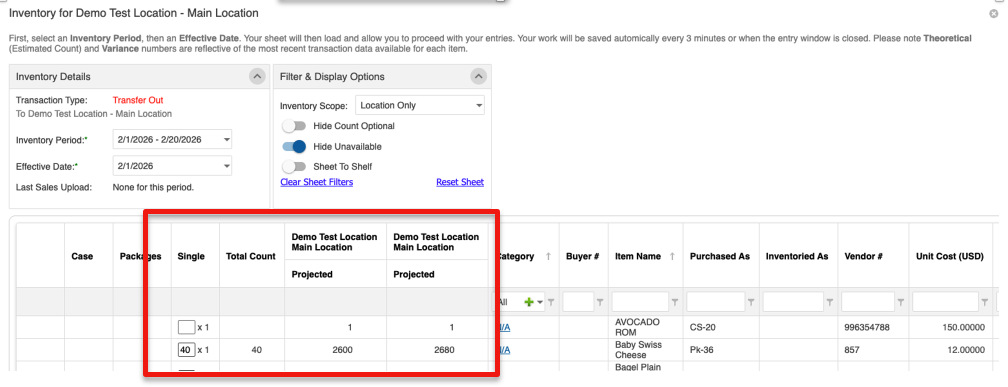
Once user has filled in the needed information > user will be able view the new projected on hand amounts within the count sheet.
EX: Entered 40 into the Single column and the projected amounts changed for each location.
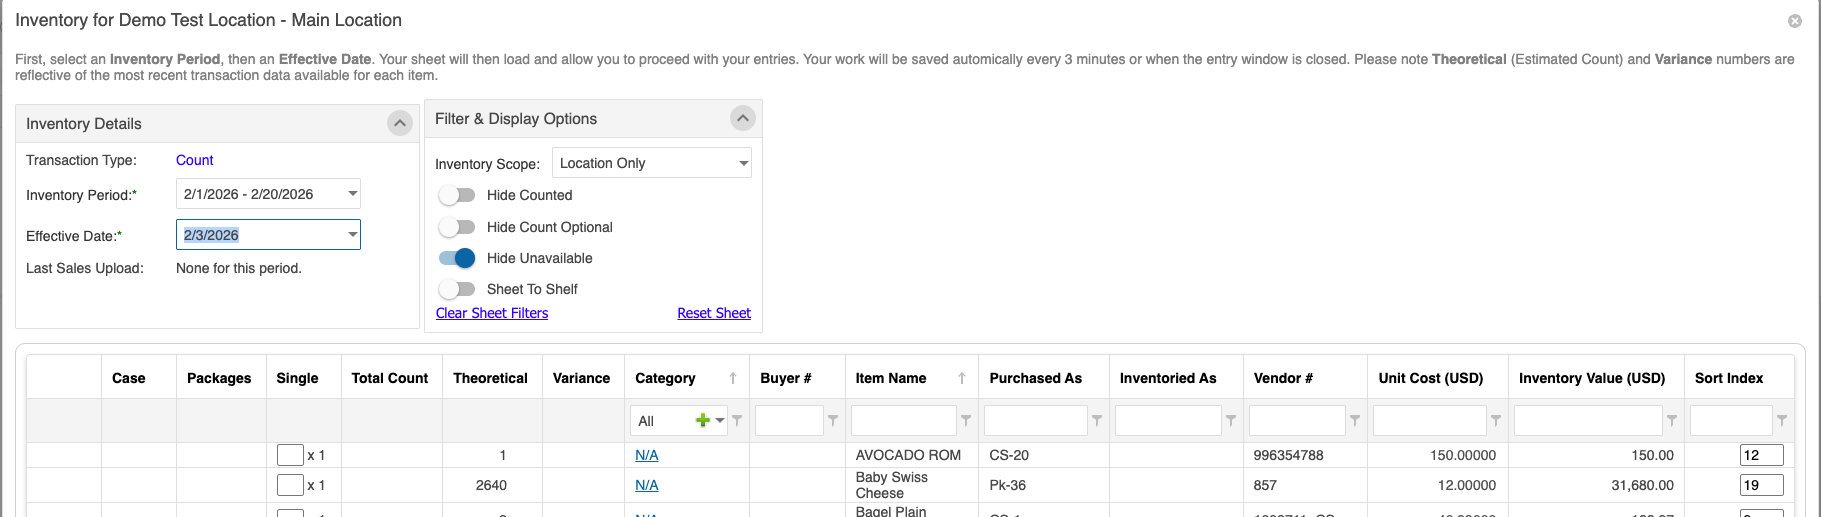
5) Initialize Count Sheet with Period and Effective Date
-
Go to View > Inventory > View by location.
-
Choose the applicable location, storage location, and item scope.
-
From Enter Inventory, select Initialize Count Sheet.

-
Select the correct Inventory Period and Effective Date for this count.
6) Rename Inventory Count Column Headers
-
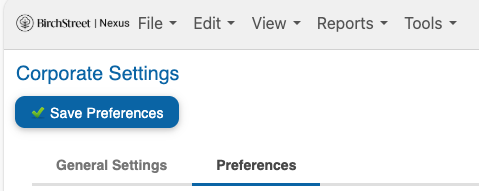
Go to File > Corp Settings > Preferences tab.
-
In the Inventory section, locate Count Column Labels.

Note - Renaming column ability is restricted to corporate/organization level access users.
7) Set Inventory Admin Flag (User Guardrails)
-
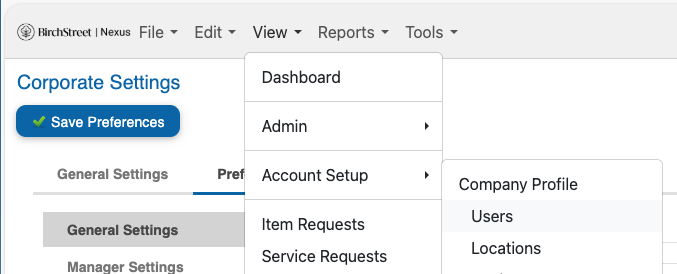
Go to View > Account setup > Users.
-
Select the user to update and click the edit button.
-
Enable the Inventory Admin flag and save changes.
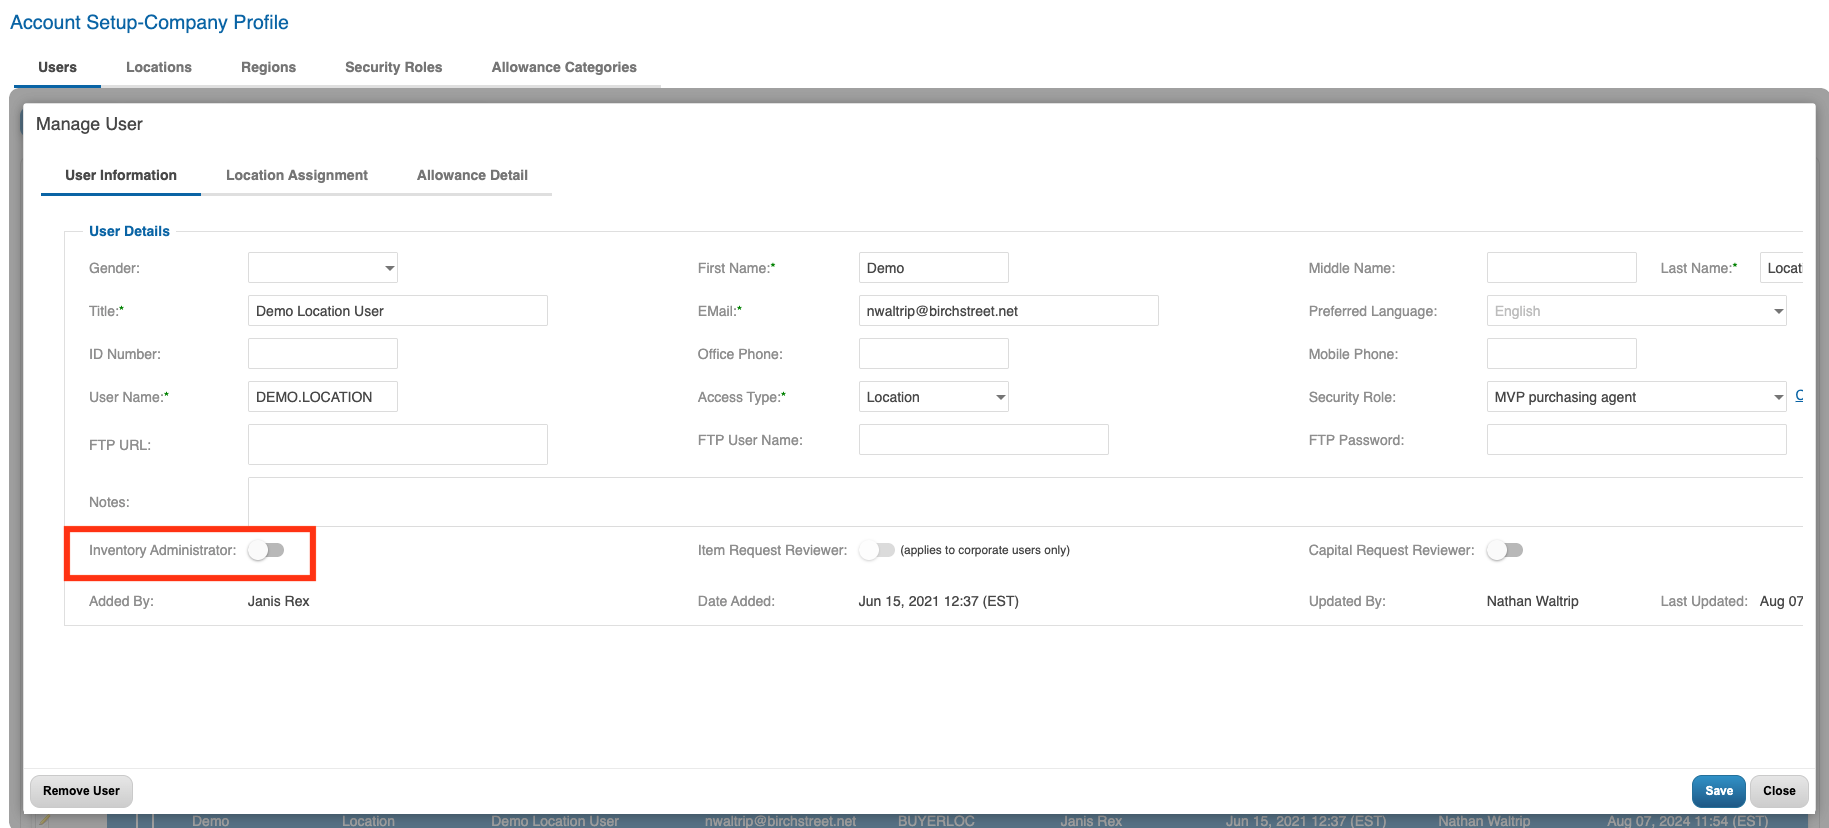
Note - This flag will enable lower access users to edit unit count + master item linking during receiving and inventory actions.
Below is a demo of the above enhancements for reference.